The Ultimate Identification Guide To Stinging Insects
Late spring through early autumn in Canada brings a surge of outdoor activity - and stinging insects buzzing around gardens, eaves, and patios. Whether you’re a homeowner, gardener, or just enjoying your backyard, it’s important to know what kind of stinging insects you’re seeing, how to recognize their nests, and when it’s time to call a professional. This comprehensive guide from A1 Pest Solutions provides you with clear identification tips, nesting habits, safety advice, and prevention strategies for bees, wasps, hornets, and yellow jackets:
How To Identify Stinging Insects At A Glance
Identifying stinging insects in your yard or around your home isn’t always easy, especially when they zip past at high speed. However, a few key visual and behavioural cues can help you distinguish between the common types you’re likely to encounter in Canada.
Key Physical Features & Behaviour Cues
When you spot a stinging insect, pay attention to these features:
- Body Shape: Is it plump and fuzzy, or slender and smooth?
- Colour Patterns: Are there clear stripes, all-over yellow, or black-and-white bands?
- Leg Position: Do the legs dangle in flight, or are they tucked close?
- Flight Style: Is their movement direct and purposeful, or slow and bumbling?
- Nesting Location: Are they entering the ground, a tree cavity, or building a visible nest?
- Behaviour: Are they solitary or swarming with others? Aggressive or docile near humans?
By noting these details, you can start to narrow down which insect you’re dealing with and how much risk it might pose.
Common Types Of Stinging Insects Homeowners Encounter
In Canadian yards and homes, you’re most likely to come across bees, wasps, hornets, and yellow jackets. Each has unique characteristics, nest types, and behaviours:
Bees: Honey Bees & Bumble Bees
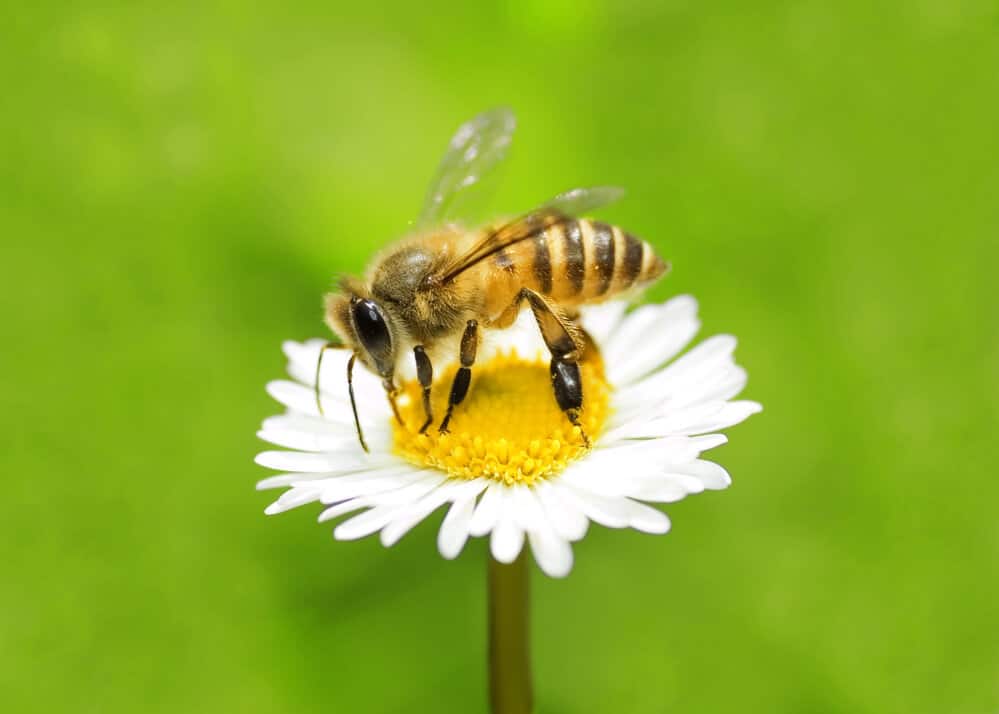
Honey Bees (Apis mellifera):
- Appearance: Small, oval, golden-brown with black bands. Fuzzy bodies.
- Behaviour: Non-aggressive unless provoked. Live in large colonies.
- Nesting: Hives in tree cavities or man-made structures. Rarely build exposed nests outdoors.
- Benefit: Excellent pollinators, vital for gardens and crops.
Bumble Bees (Bombus spp.):
- Appearance: Larger and rounder than honey bees. Very fuzzy, with black and yellow (sometimes orange) bands.
- Behaviour: Generally gentle, only sting when threatened or the nest is disturbed.
- Nesting: Small colonies in underground burrows, compost heaps, or thick grass.
Wasps: Paper Wasps & Mud Daubers
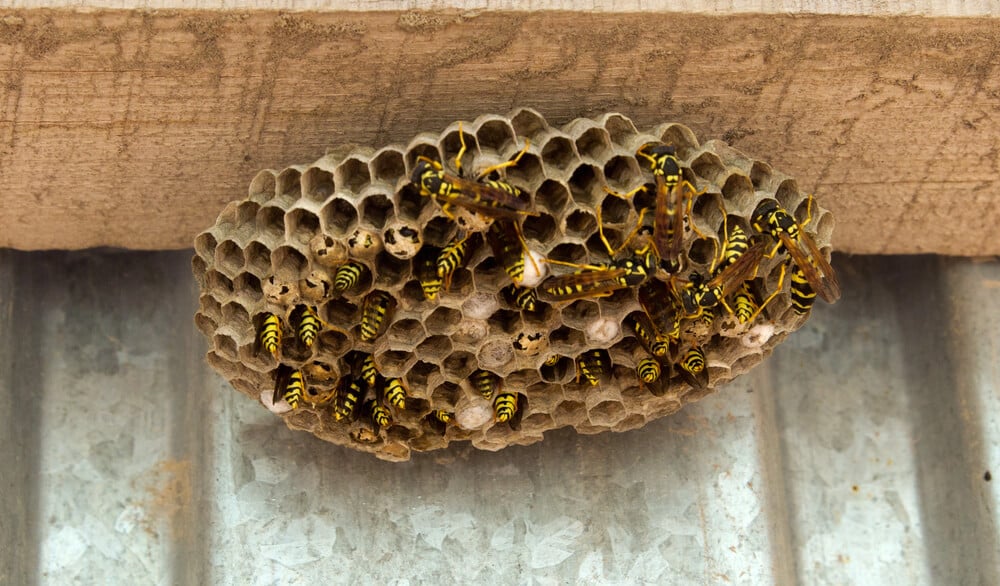
Paper Wasps (Polistes spp.):
- Appearance: Slender, with long legs and a narrow “waist.” Brown with yellow or reddish markings.
- Behaviour: Can be territorial if nests are nearby. Not as aggressive as yellow jackets.
- Nesting: Open, umbrella-shaped nests made of papery material. Common under eaves, decks, or railings.
Mud Daubers (Sceliphron spp. & other genera):
- Appearance: Very slender with threadlike waists. Usually black or metallic blue, sometimes with yellow.
- Behaviour: Solitary, non-aggressive. Rarely sting.
- Nesting: Small, tube-like mud nests on walls, rafters, or inside sheds.
Hornets & Yellow Jackets
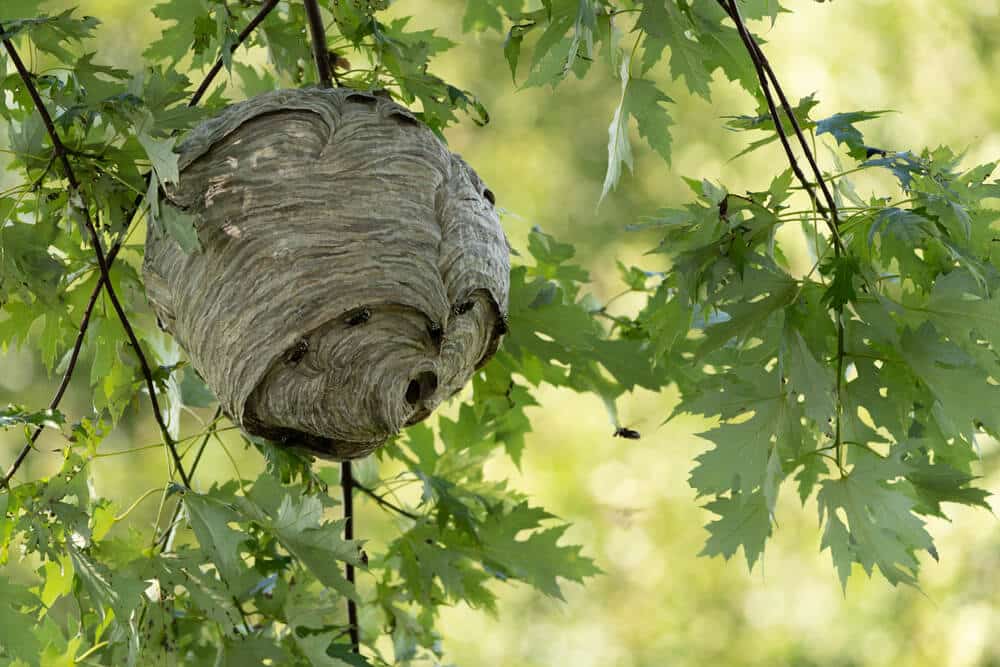
Hornets (Dolichovespula maculata - Bald-faced Hornet):
- Appearance: Large (up to 2.5 cm), black and white, with a robust body.
- Behaviour: Very protective of nests. Will chase intruders.
- Nesting: Large, grey, papery, football-shaped aerial nests in trees or on buildings.
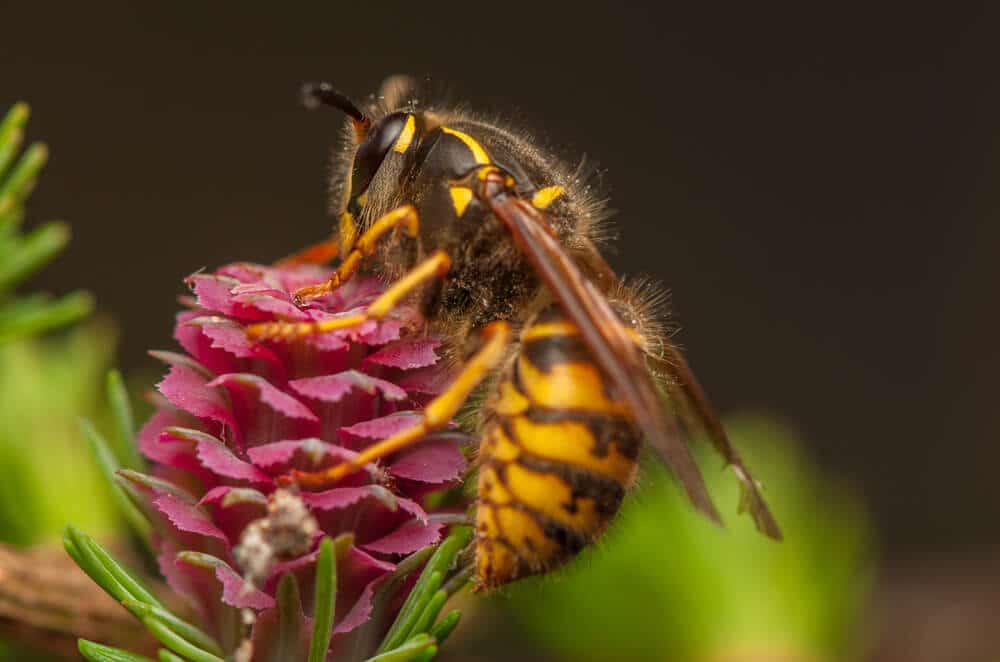
Yellow Jackets (Vespula spp. & Dolichovespula spp.):
- Appearance: Small, stocky, bright yellow with black bands. Smooth, shiny bodies.
- Behaviour: Aggressive, especially in late summer. Attracted to food and sugary drinks.
- Nesting: Both aerial (in trees, shrubs, attics) and ground nests (abandoned rodent burrows).
How To Tell Bees, Wasps, Hornets, And Yellow Jackets Apart
With so many similarities, it’s easy to mistake one type for another. Here’s a quick side-by-side comparison to help you differentiate:
Body Shape, Colour, & Temperament Compared
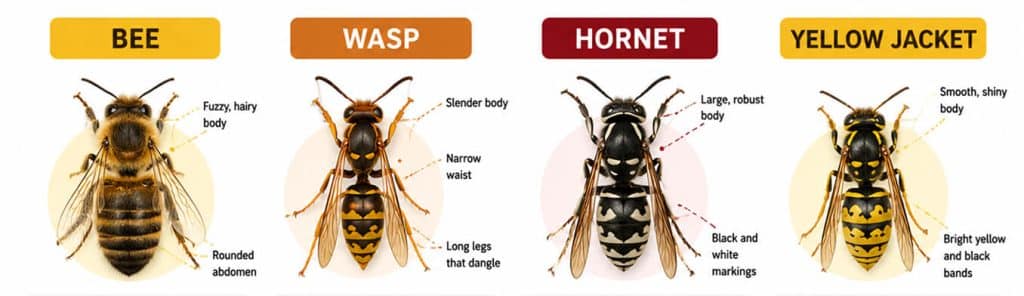
| Feature | Bees | Paper Wasps | Mud Daubers | Hornets | Yellow Jackets |
| Body | Fuzzy, round (Bumble), oval (Honey) | Slender, narrow waist, long legs | Very thin and elongated | Large, robust | Small, compact, smooth |
| Colour | Golden-brown or black with yellow/orange bands | Brownish with yellow/red | Black/metallic blue, sometimes with yellow | Black and white (bald-faced) | Bright yellow and black |
| Temperament | Docile, sting only when threatened | Mildly defensive near nest | Solitary, non-aggressive | Aggressive when nest threatened | Highly aggressive, especially in late summer |
| Legs | Not visible in flight | Dangle in flight | Dangle in flight | Dangle in flight | Not visible in flight |
Where Stinging Insects Nest And What Their Nests Look Like
Understanding nesting habits is key to assessing risk and deciding on action.
Ground Nests Vs. Aerial Nests
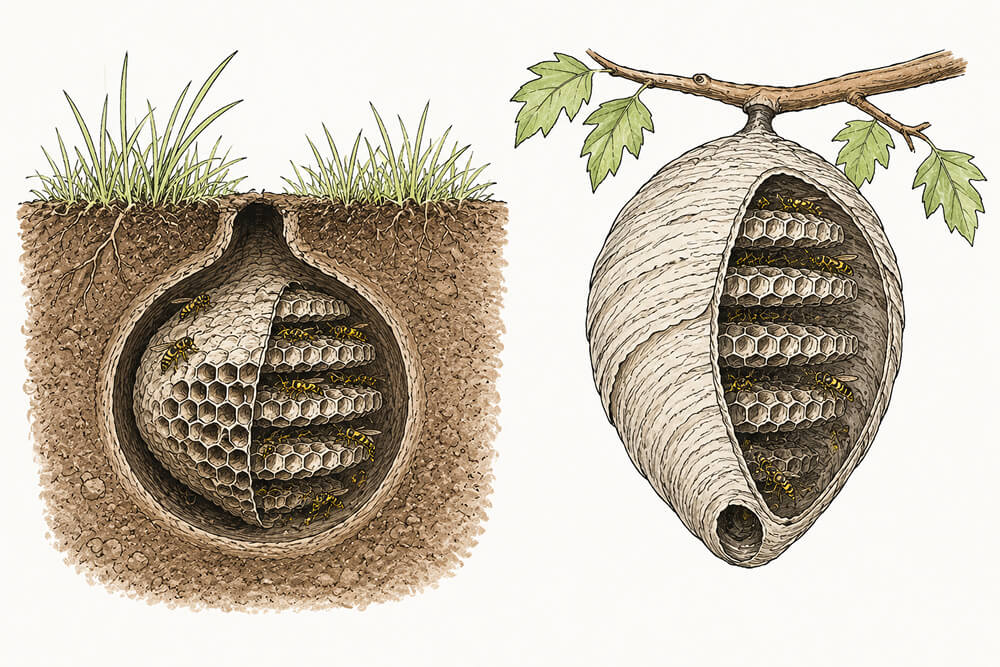
Ground Nests:
- Bumble bees and many yellow jackets nest underground, often in abandoned rodent burrows or compost heaps.
- Signs: Look for bees/wasps entering and exiting a small hole in the ground. You may hear buzzing near the entrance.
- Risks: Ground nests are hard to spot, increasing the chance of accidental disturbance (e.g., mowing, gardening).
Aerial Nests:
- Paper wasps, hornets, and some yellow jackets build aerial nests.
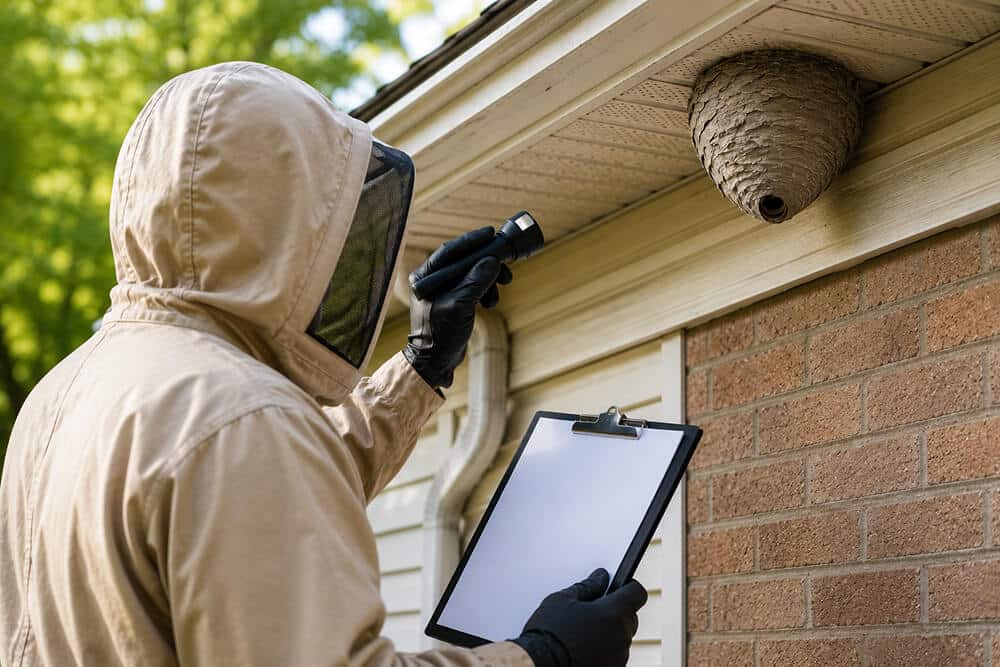
- Paper wasp nests: Exposed, umbrella-shaped, attached to eaves, rafters, or porch ceilings.
- Hornet nests: Enclosed, grey, papery, football-shaped, hanging from tree branches or rooflines.
- Aerial yellow jacket nests: Similar in appearance to hornet nests but generally smaller.
- Mud dauber nests: Small, mud tubes found on sheltered walls, inside sheds or garages.
For more visual cues, check out our guide on identifying hidden wasp colonies in your eaves.
When Stinging Insects Become Dangerous
Most stinging insects play an important role in pollination or pest control. However, their presence can become a health risk under certain conditions:
Allergic Reactions & Signs Of An Aggressive Colony
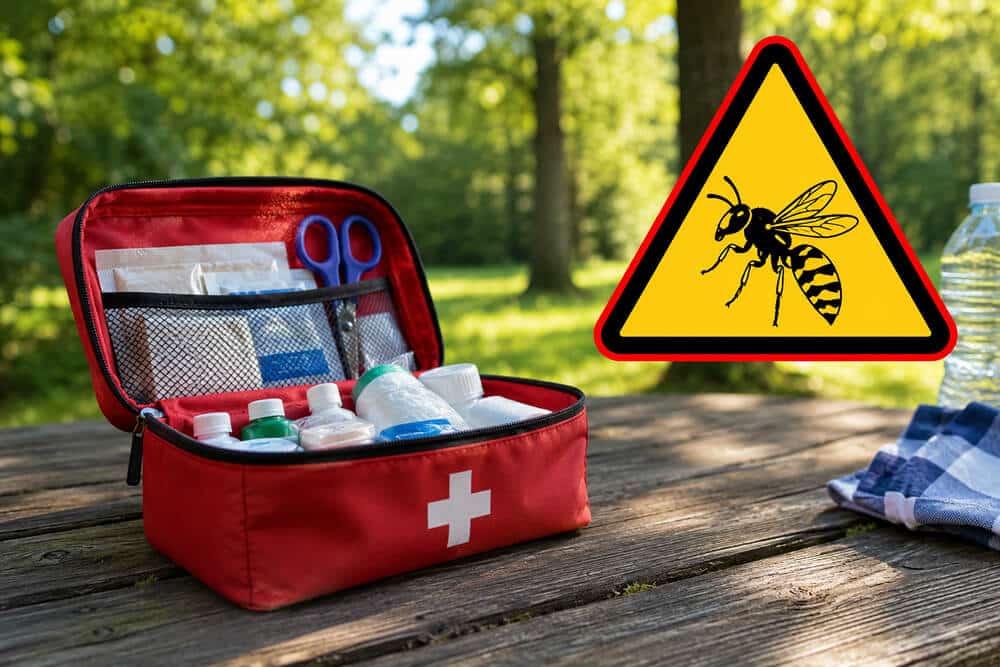
Allergic Reactions:
- Some people have severe allergies to insect stings, resulting in anaphylaxis.
Symptoms can include:
- Swelling of the face or throat
- Difficulty breathing
- Rapid heartbeat
- Hives or rash
- Dizziness or fainting
If you or someone nearby is stung and shows these symptoms, call 911 immediately.
Aggressive Colonies:
- Yellow jackets and hornets are especially defensive when their nests are disturbed.
- Warning signs: Swarming, loud buzzing, insects “head-butting” before stinging, or following you away from the nest.
- Late summer and early fall: Colonies become more aggressive as natural food sources dwindle.
What To Do If You Find Stinging Insects On Your Property
If you notice increased insect activity, visible nests, or swarming near your home, it’s important to act with caution.
Safe Steps Before Calling A Pest Control Professional
- Do not disturb the nest. Vibrations or loud noises can trigger defensive behaviour.
- Keep children and pets away from the area.
- Observe from a safe distance to note nest location, size, and type of insect.
- Seal indoor entry points if insects are getting inside.
- Avoid using sprays or DIY nest removal, as this can provoke attacks and is often ineffective.
Professional pest control is strongly recommended for any nest near high-traffic areas or if you’re unsure about the species. Hire us today for bee and wasp nest removal.
Seasonal Stinging Insect Activity And Prevention Tips
Stinging insect populations peak during certain times of the year, and prevention is easier than dealing with an established colony:
Peak Activity Seasons & How To Reduce Attractants
When Are Stinging Insects Most Active?
- Spring: Queens emerge from hibernation and seek nest sites.
- Summer: Colonies grow rapidly and become more visible.
- Late summer to early fall: Foraging increases; yellow jackets become more aggressive as food gets scarce.
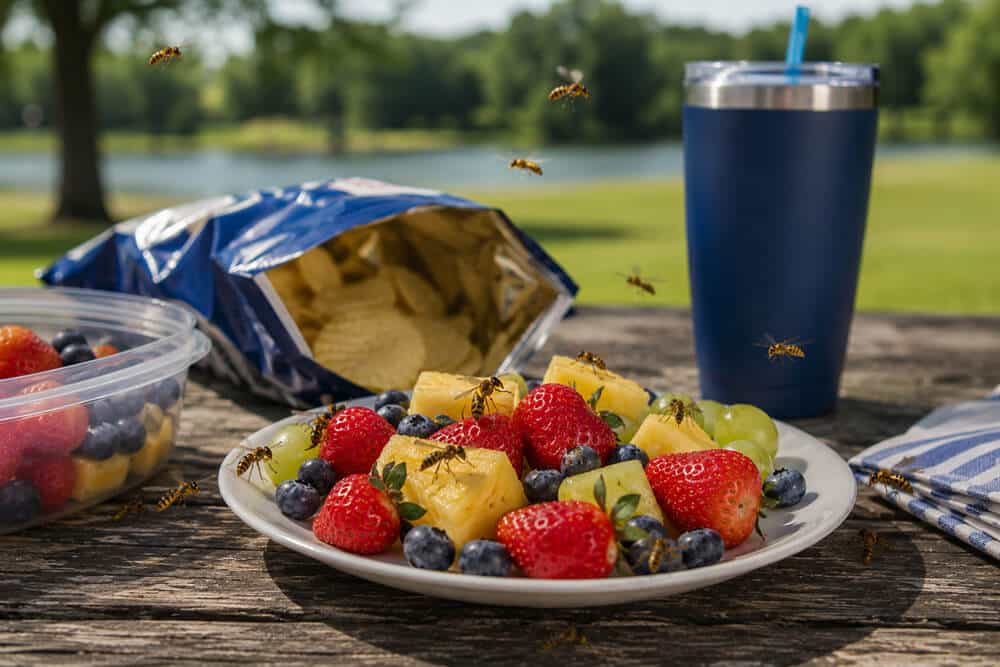
How To Reduce Attractants:
- Keep food and drinks covered when eating outdoors.
- Promptly clean up spills, especially sugary drinks (wasps and yellow jackets love sweets).
- Seal garbage bins and compost tightly.
- Repair screens, seal gaps around windows, doors, and rooflines.
- Inspect your property regularly for early signs of nest building, especially under eaves, decks, and in sheds.
- Maintain your yard by mowing the lawn and trimming shrubs, which reduces ground-nesting sites.
By making your property less appealing, you lower the chances of stinging insects settling in. For more prevention tips and to compare with other pest threats, see our guide on identifying bed bug infestations.
Need Help Identifying Or Removing Stinging Insects?
If you’re uncertain about the type of stinging insect on your property or have spotted a nest in a risky location, don’t take chances. The A1 Pest Solutions team has extensive experience with bee and wasp nest removal across Winnipeg and beyond. We offer safe, effective solutions to protect your family, pets, and neighbours - while respecting the role pollinators play in our ecosystem.
Contact us today for expert identification, removal, and prevention services, and enjoy peace of mind all season long.